Hands-On Tutorial
In this tutorial, you will create a database and a data table in Databend Cloud, and import a sample data. Before getting started, please ensure that you have successfully registered and logged in to your Databend Cloud account.
Step 1: Create a Database and a Table
Click on Worksheets in the sidebar, and then click on New Worksheet. You will see a page like this:
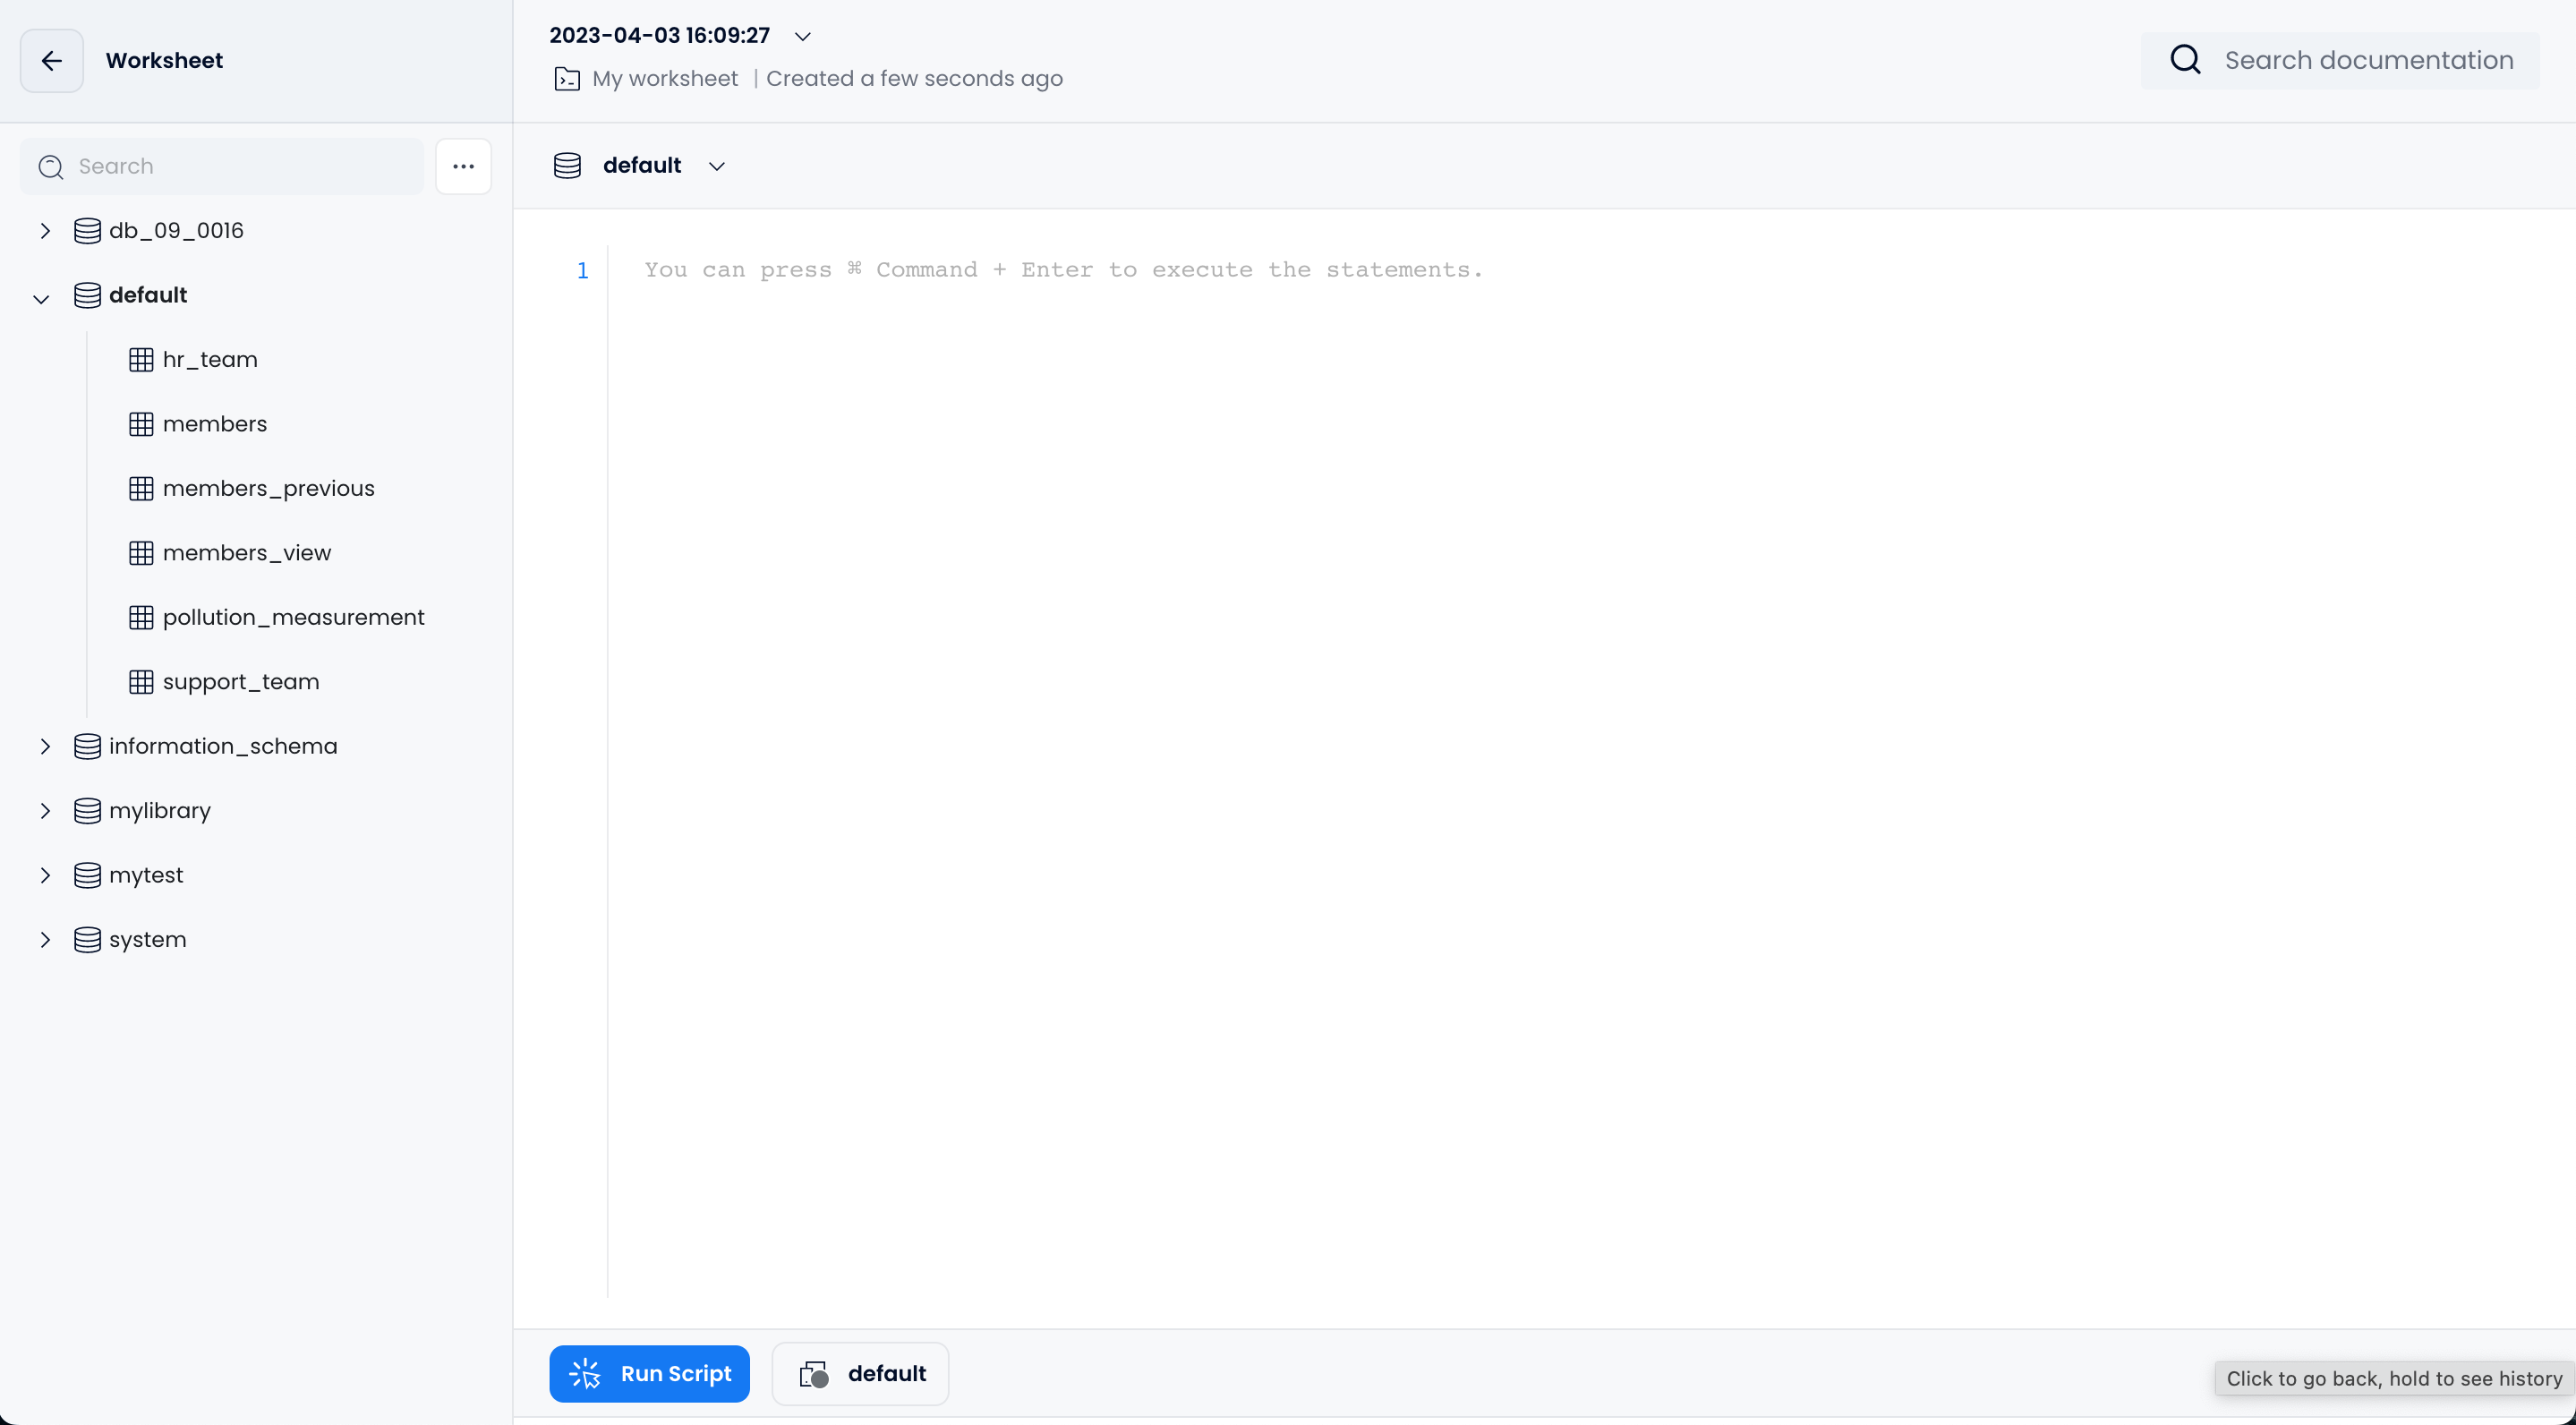
In the worksheet, we can write and execute SQL statements. All subsequent SQL operations in this tutorial will be executed through the workspace.
The default next to the Run Script button refers to the default warehouse. You can also create more warehouses of different specifications on the Warehouses page according to your needs to adapt to different workloads.
Copy and paste the following SQL statement to the editor, then click Run Script to create a database:
CREATE DATABASE book_db;
Copy and paste the following SQL statement to the editor, then click Run Script to create a table:
CREATE TABLE books
(
    title VARCHAR,
    author VARCHAR,
    date VARCHAR
);
After clicking Run Script, you can see a prompt indicating that the SQL statement was executed successfully. Afterwards, you can refresh the page to view the newly created database and table in the left-hand navigation pane.
Step 2: Load Data
You can choose any of the following methods to import data. Before starting, please click the link to download the sample file books.csv.
Load with Data Loading Wizard
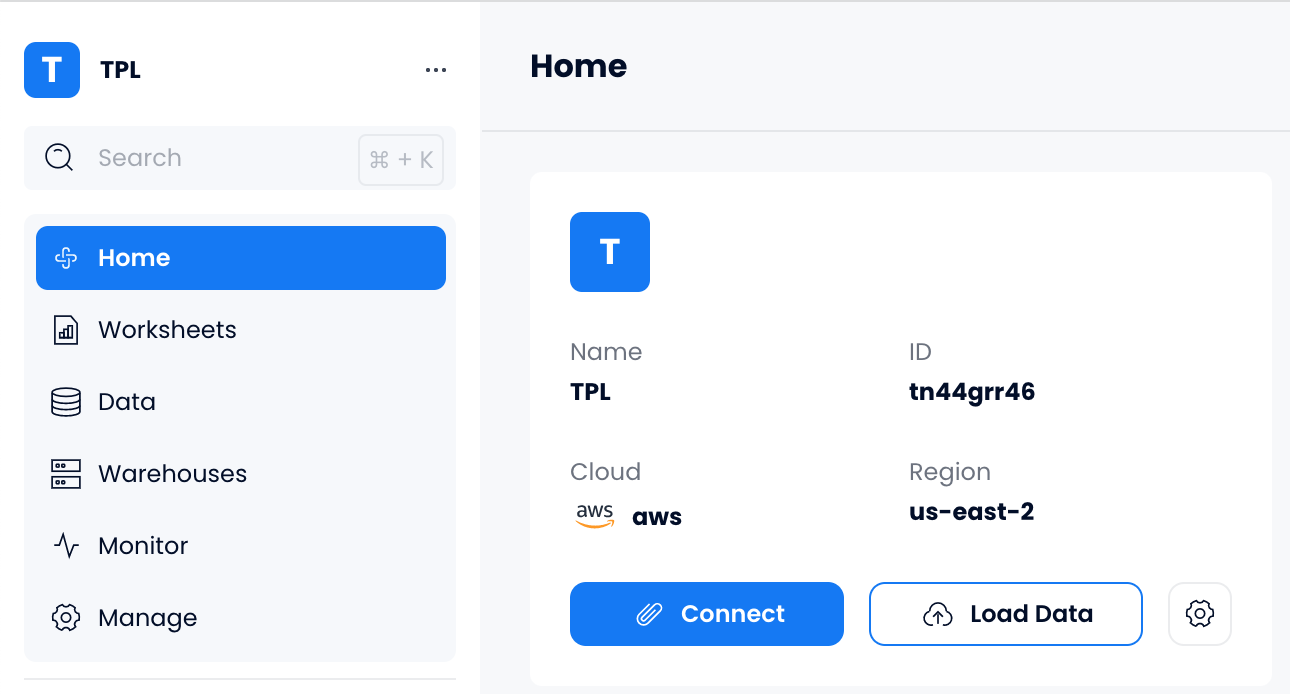
On the Home page, click Load Data
Click An existing table
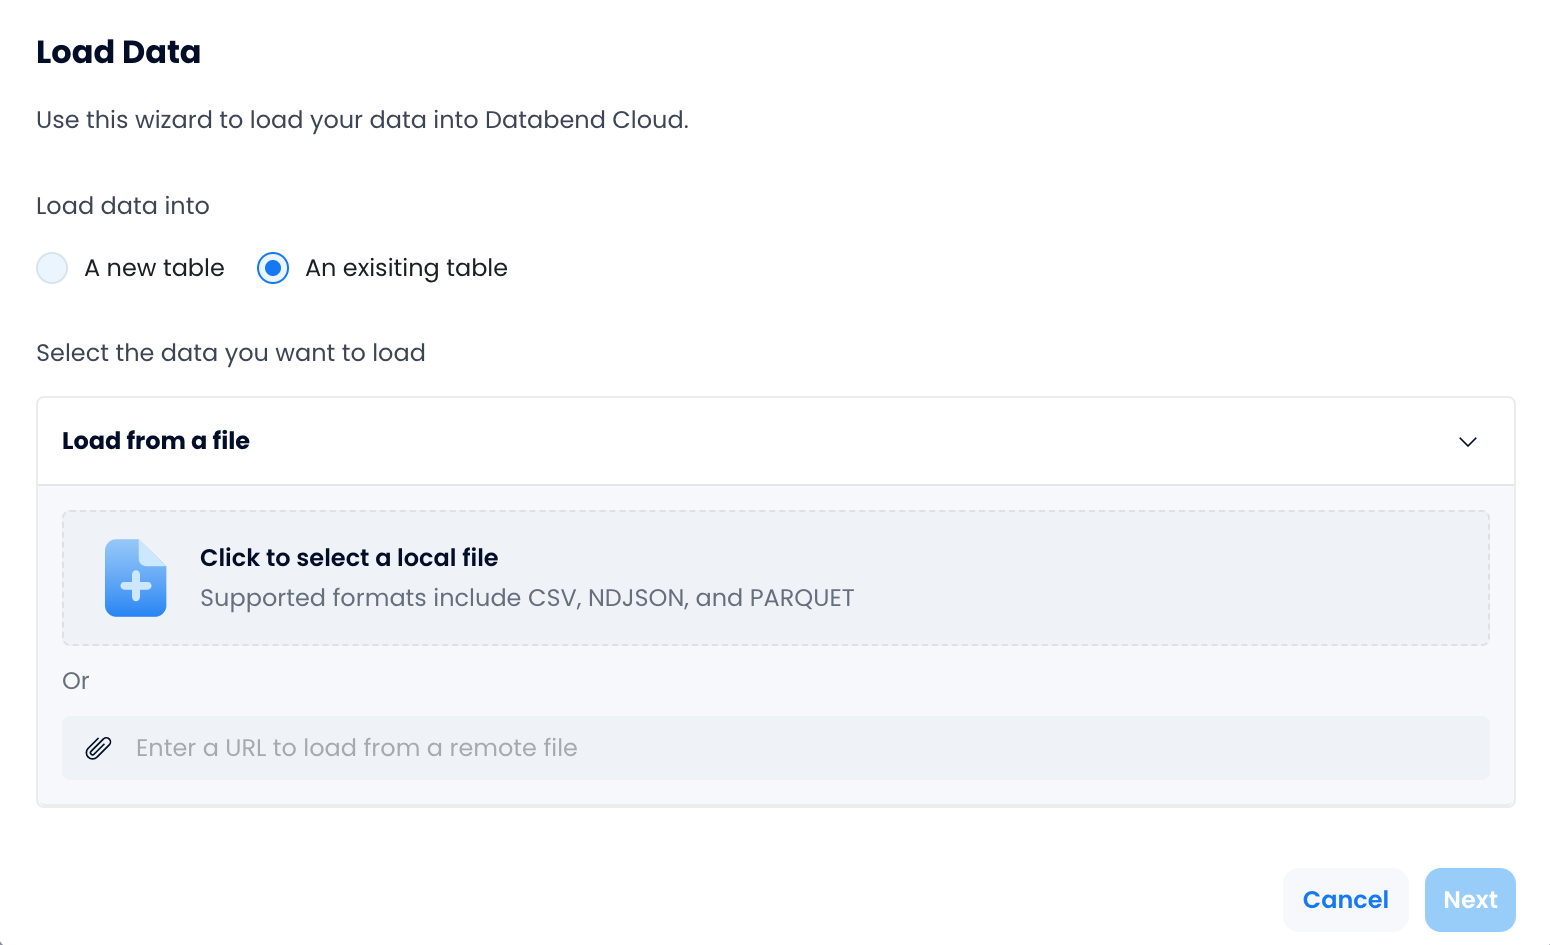
Select the local sample file, then click Next:
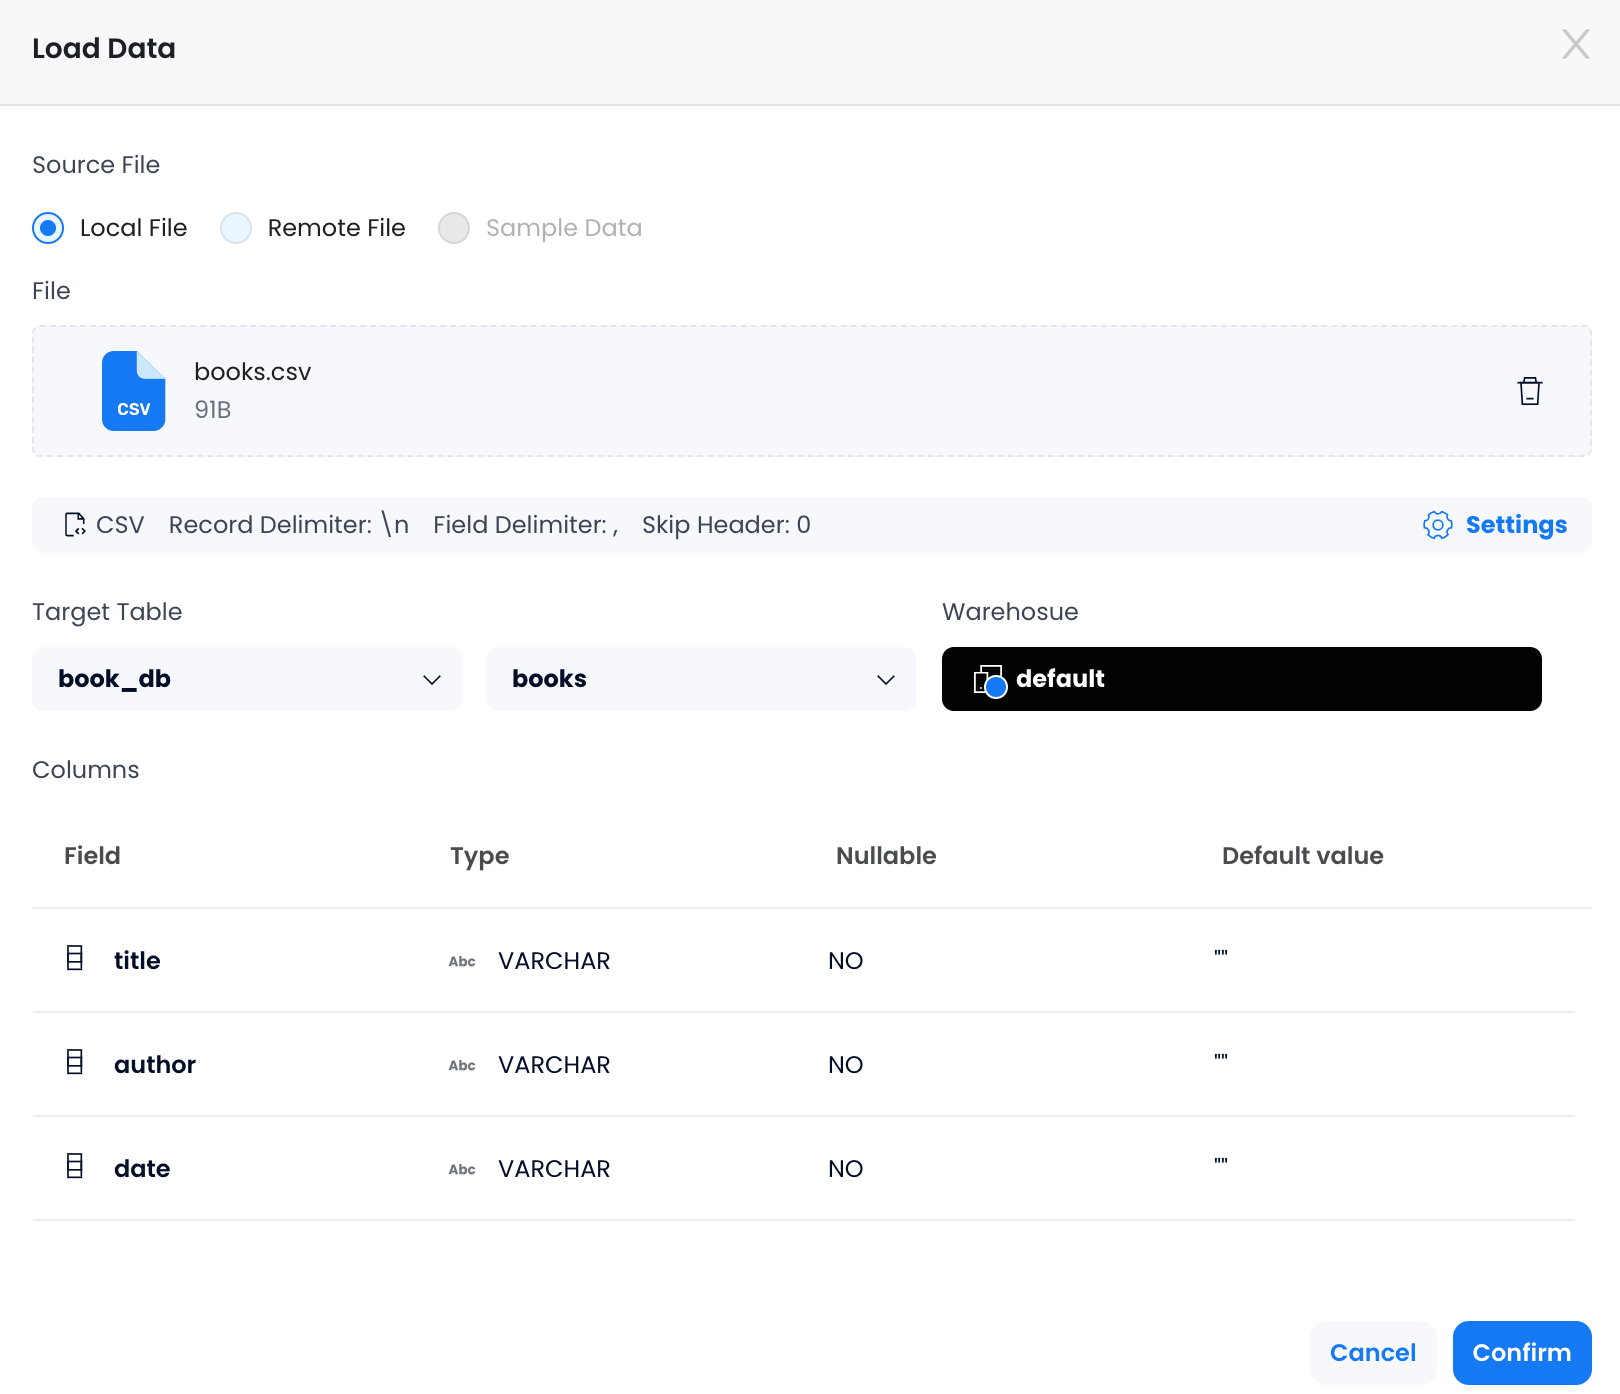
Confirm
Select book_db as the target database and books as the target table, then click Confirm.
Load with BendSQL
Databend Cloud offers a CLI tool called BendSQL. You can also use BendSQL in your data pipeline to automate data import.
- On the Home page, click Connect:
- You can obtain the connection information as shown in the following snapshot. If you do not see the password, click Reset DB Password to generate a new one:
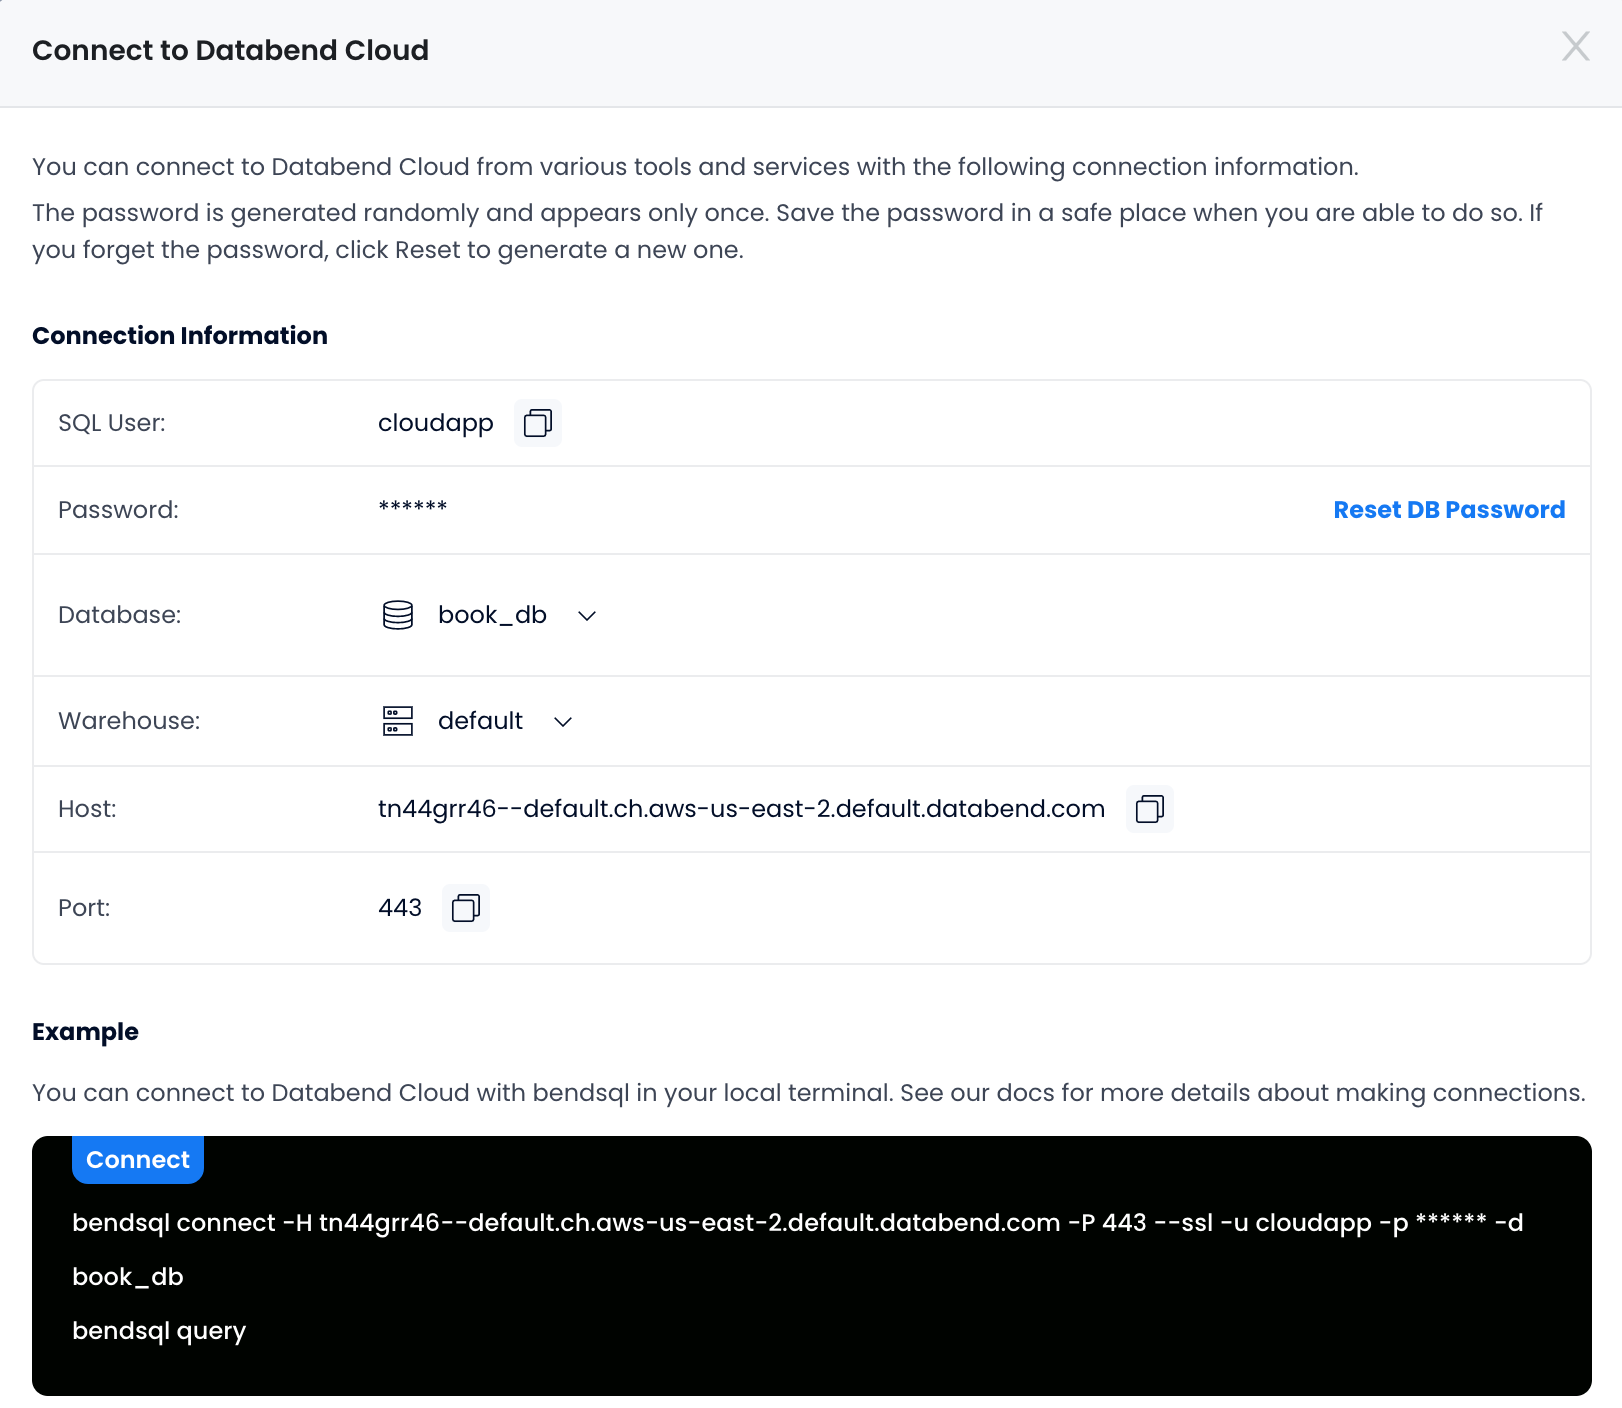
- Open the command line console and execute the following command to log in to BendSQL:
bendsql connect -u cloudapp -p <password> -P443 --ssl -H <host-address> -d book_db
- Execute the following command to upload the sample file:
bendsql load csv -f ~/Downloads/books.csv -t book_db.books --skip-header 0
If you can see printed messages like this, it indicates that the data loading was successful:
-> Uploading ...
-> Inserting into table: `book_db`.`books` ...
-> Successfully loaded into table: `book_db`.`books` in 1.067s
Rows: 2, Bytes: 157
Load with COPY INTO
COPY INTO supports importing data from various data sources such as OSS, S3, Azure Blob, HTTPS URLs, etc.
Copy and paste the following SQL statement to the editor in your worksheet, then click Run Script:
COPY INTO book_db.books FROM 'https://datafuse-1253727613.cos.ap-hongkong.myqcloud.com/data/books.csv'
    FILE_FORMAT = (type = CSV field_delimiter = ','  record_delimiter = '\n' skip_header = 0);
Step 3. Query Imported Data
Copy and paste the following SQL statement to the editor in your worksheet to get the number of books by different years:
SELECT count(*), date FROM book_db.books GROUP BY date;
You can also execute the same SQL statement with the BendSQL CLI tool:
╰─$ bendsql query
Connected with driver databend (DatabendQuery v0.9.44-nightly-72bde50(rust-1.68.0-nightly-2023-02-19T16:20:24.92751464Z))
Type "help" for help.

dd:cloudapp@tn3ftqihs--bl/book=> SELECT count(*), date FROM book_db.books GROUP BY date;
+----------+------+
| count(*) | date |
+----------+------+
|        1 | 1992 |
|        1 | 2004 |
+----------+------+
(2 rows)