Accessing MySQL and Redis with Dictionaries
In this tutorial, we’ll guide you through accessing MySQL and Redis data using dictionaries in Databend. You’ll learn how to create dictionaries that map to these external data sources, enabling seamless data querying and integration.
Before You Start
Before you start, ensure that Docker is installed on your local machine. We need Docker to set up the necessary containers for Databend, MySQL, and Redis. You will also need a SQL client to connect to MySQL; we recommend using BendSQL to connect to Databend.
Step 1: Setting up Environment
In this step, we’ll launch instances of Databend, MySQL, and Redis using Docker on your local machine.
- Create a Docker network named
mynetworkto enable communication between your Databend, MySQL, and Redis containers:
docker network create mynetwork
- Run the following command to start a MySQL container named
mysqlwithin themynetworknetwork:
docker run -d \
  --name=mysql \
  --network=mynetwork \
  -e MYSQL_ROOT_PASSWORD=admin \
  -p 3306:3306 \
  mysql:latest
- Run the following command to start a Databend container named
databendwithin themynetworknetwork:
docker run -d \
  --name=databend \
  --network=mynetwork \
  -p 3307:3307 \
  -p 8000:8000 \
  -p 8124:8124 \
  -p 8900:8900 \
  datafuselabs/databend:nightly
- Run the following command to start a Redis container named
rediswithin themynetworknetwork:
docker run -d \
  --name=redis \
  --network=mynetwork \
  -p 6379:6379 \
  redis:latest
- Verify that the Databend, MySQL, and Redis containers are connected to the same network by inspecting the
mynetworkDocker network:
docker network inspect mynetwork

[
    {
        "Name": "mynetwork",
        "Id": "ba8984e9ca07f49dd6493fd7c8be9831bda91c44595fc54305fc6bc241a77485",
        "Created": "2024-09-23T21:24:34.59324771Z",
        "Scope": "local",
        "Driver": "bridge",
        "EnableIPv6": false,
        "IPAM": {
            "Driver": "default",
            "Options": {},
            "Config": [
                {
                    "Subnet": "172.18.0.0/16",
                    "Gateway": "172.18.0.1"
                }
            ]
        },
        "Internal": false,
        "Attachable": false,
        "Ingress": false,
        "ConfigFrom": {
            "Network": ""
        },
        "ConfigOnly": false,
        "Containers": {
            "14d50cc4d075158a6d5fa4e6c8b7db60960f8ba1f64d6bceff0692c7e99f37b5": {
                "Name": "redis",
                "EndpointID": "e1d1015fea745bbbb34c6a9fb11010b6960a139914b7cc2c6a20fbca4f3b77d8",
                "MacAddress": "02:42:ac:12:00:04",
                "IPv4Address": "172.18.0.4/16",
                "IPv6Address": ""
            },
            "276bc1023f0ea999afc41e063f1f3fe7404cb6fbaaf421005d5c05be343ce5e5": {
                "Name": "databend",
                "EndpointID": "ac915b9df2fef69c5743bf16b8f07e0bb8c481ca7122b171d63fb9dc2239f873",
                "MacAddress": "02:42:ac:12:00:03",
                "IPv4Address": "172.18.0.3/16",
                "IPv6Address": ""
            },
            "95c21de94d27edc5e6fa8e335e0fd5bff12557fa30889786de9f483b8d111dbc": {
                "Name": "mysql",
                "EndpointID": "44fdf40de8c3d4c8fec39eb03ef1219c9cf1548e9320891694a9758dd0540ce3",
                "MacAddress": "02:42:ac:12:00:02",
                "IPv4Address": "172.18.0.2/16",
                "IPv6Address": ""
            }
        },
        "Options": {},
        "Labels": {}
    }
]
Step 2: Populating Sample Data
In this step, we’ll add sample data to MySQL and Redis, and Databend.
- In Databend, create a table named
users_databendand insert sample user data:
CREATE TABLE users_databend (
    id INT,
    name VARCHAR(100) NOT NULL
);

INSERT INTO users_databend (id, name) VALUES
(1, 'Alice'),
(2, 'Bob'),
(3, 'Charlie');
- In MySQL, create a database named
dict, create auserstable, and insert sample data:
CREATE DATABASE dict;
USE dict;

CREATE TABLE users (
    id INT AUTO_INCREMENT PRIMARY KEY,
    name VARCHAR(100) NOT NULL,
    email VARCHAR(100) NOT NULL
);

INSERT INTO users (name, email) VALUES
('Alice', 'alice@example.com'),
('Bob', 'bob@example.com'),
('Charlie', 'charlie@example.com');
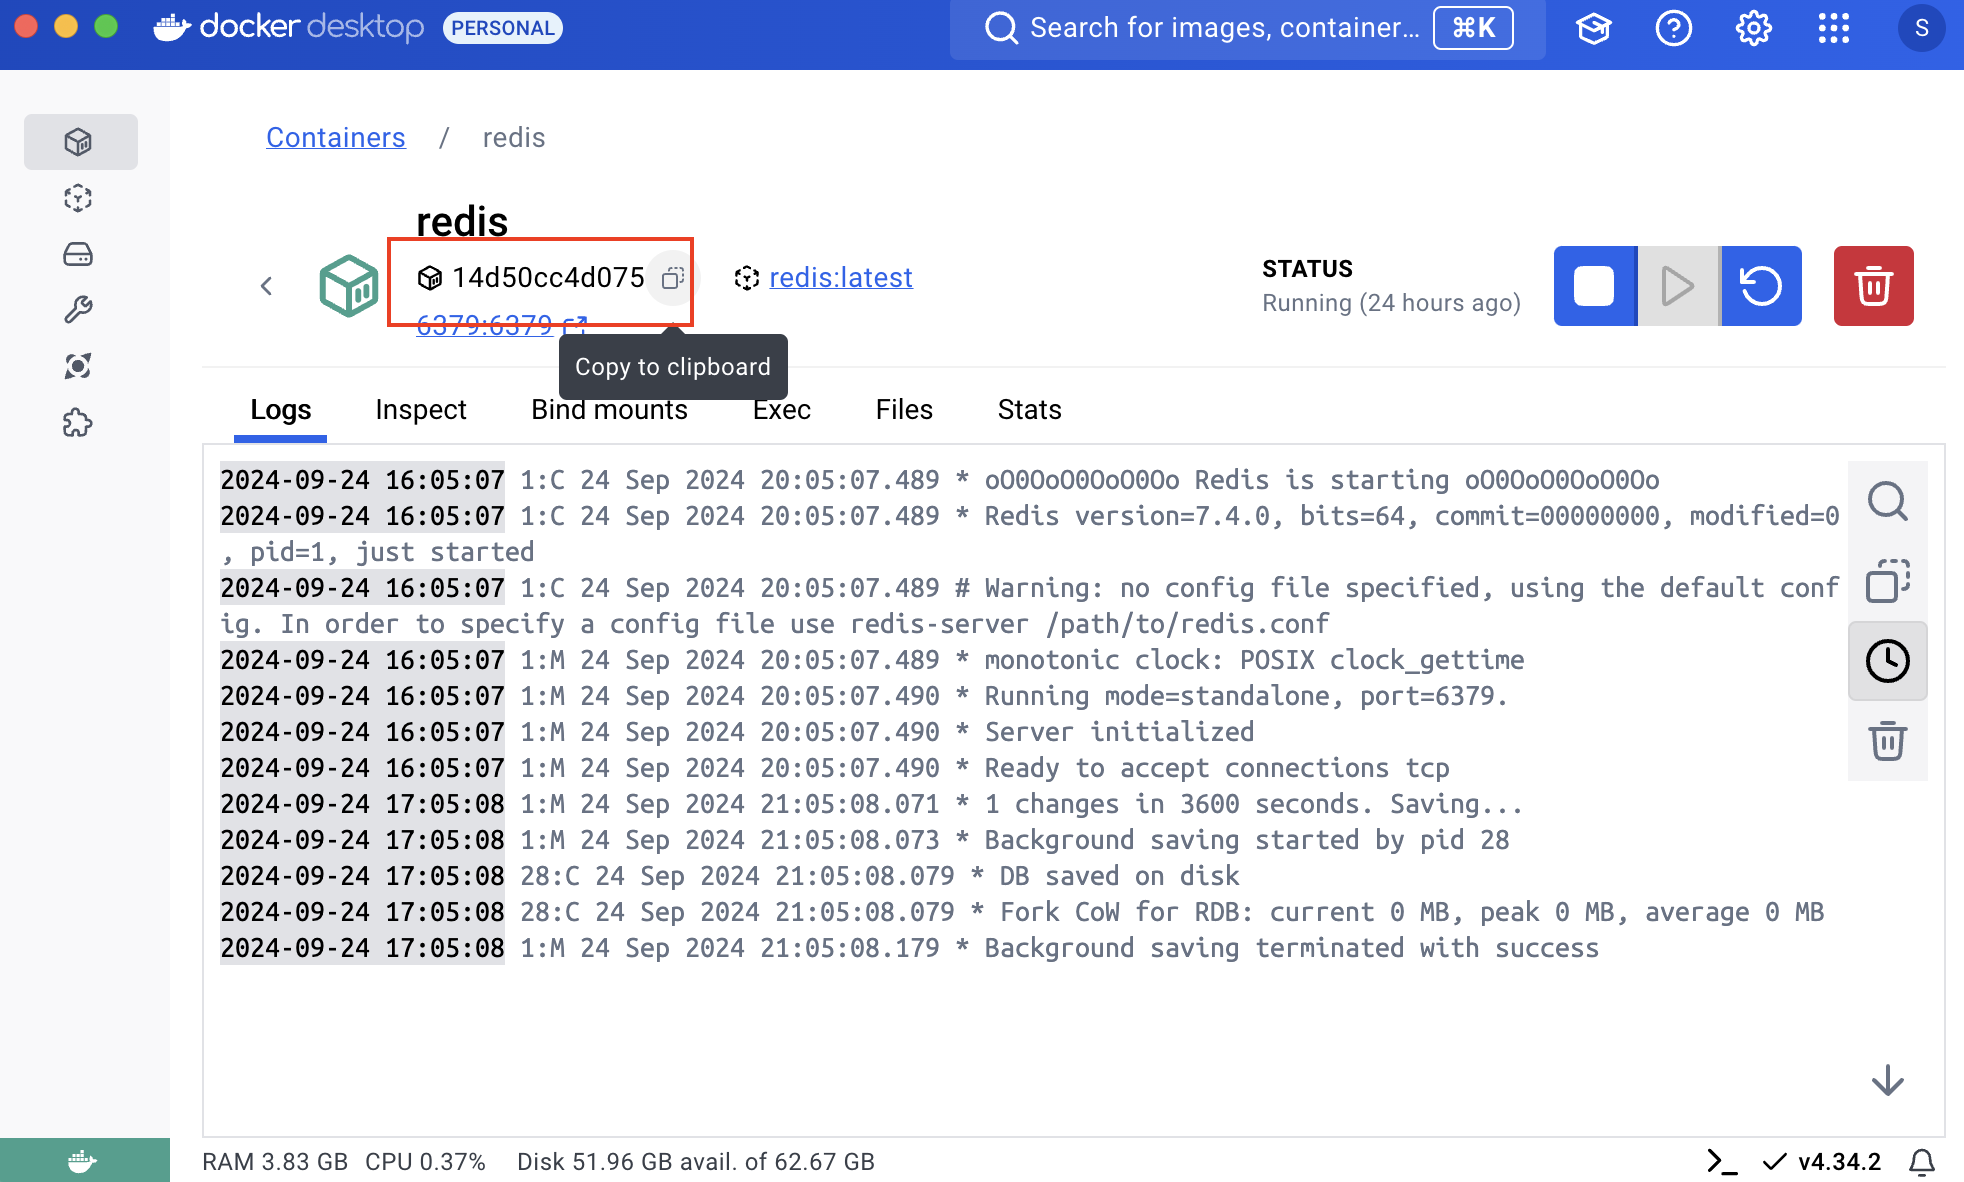
- Find your Redis container ID on Docker Desktop or by running
docker psin the terminal:

- Access the Redis CLI using your Redis container ID (replace
14d50cc4d075with your actual container ID):
docker exec -it 14d50cc4d075 redis-cli
- Insert sample user data into Redis by running the following commands in the Redis CLI:
SET user:1 '{"notifications": "enabled", "theme": "dark"}'
SET user:2 '{"notifications": "disabled", "theme": "light"}'
SET user:3 '{"notifications": "enabled", "theme": "dark"}'
Step 3: Creating Dictionaries
In this step, we'll create dictionaries for MySQL and Redis in Databend and then query data from these external sources.
- In Databend, create a dictionary named
mysql_usersin Databend that connects to the MySQL instance:
CREATE DICTIONARY mysql_users
(
    id INT,
    name STRING,
    email STRING
)
PRIMARY KEY id
SOURCE(MySQL(
    host='mysql'
    port=3306
    username='root'
    password='admin'
    db='dict'
    table='users'
));
- Create a dictionary named
redis_user_preferencesin Databend that connects to the Redis instance:
CREATE DICTIONARY redis_user_preferences
(
    user_id STRING,
    preferences STRING
)
PRIMARY KEY user_id
SOURCE(Redis(
    host='redis'
    port=6379
));
- Query data from the MySQL and Redis dictionaries we created earlier.
SELECT
    u.id,
    u.name,
    DICT_GET(mysql_users, 'email', u.id) AS email,
    DICT_GET(redis_user_preferences, 'preferences', CONCAT('user:', TO_STRING(u.id))) AS user_preferences
FROM
    users_databend AS u;
The query above retrieves user information, including their ID and name from the users_databend table, along with their email from the MySQL dictionary and user preferences from the Redis dictionary.
┌──────────────────────────────────────────────────────────────────────────────────────────────────────────────────────────────────────────────────────────────────────┐
│        id       │   name  │ dict_get(default.mysql_users, 'email', u.id) │ dict_get(default.redis_user_preferences, 'preferences', CONCAT('user:', TO_STRING(u.id))) │
│ Nullable(Int32) │  String │               Nullable(String)               │                                      Nullable(String)                                     │
├─────────────────┼─────────┼──────────────────────────────────────────────┼───────────────────────────────────────────────────────────────────────────────────────────┤
│               1 │ Alice   │ alice@example.com                            │ {"notifications": "enabled", "theme": "dark"}                                             │
│               2 │ Bob     │ bob@example.com                              │ {"notifications": "disabled", "theme": "light"}                                           │
│               3 │ Charlie │ charlie@example.com                          │ {"notifications": "enabled", "theme": "dark"}                                             │
└──────────────────────────────────────────────────────────────────────────────────────────────────────────────────────────────────────────────────────────────────────┘